All wall and window presets in TamoGraph Site Survey have two key parameters: reflection (%) and attenuation (dB).
The standard presets in TamoGraph are based on lab measurements. However, construction materials vary widely, so TamoGraph allows users to create custom presets to better match real-world conditions.
Recommended Workflow
-
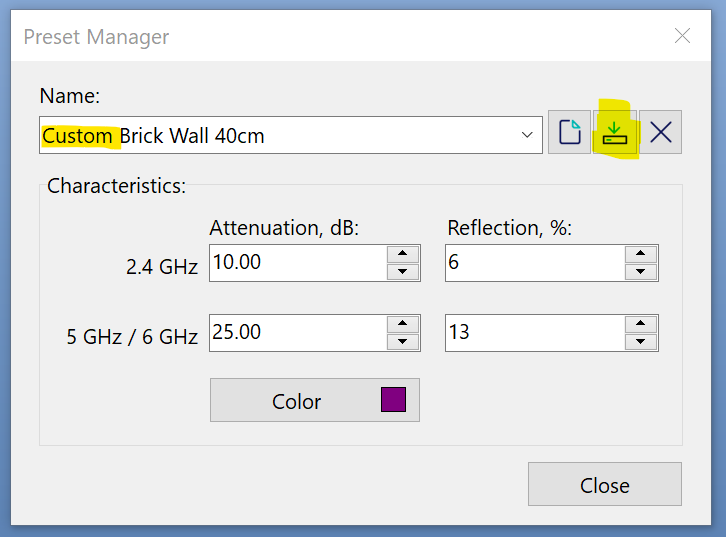
Create Custom Presets
- For each wall type in your project, start with a standard preset that closely matches the material (e.g., a metal door).
- Give it a distinct name and assign a color for easy identification.
- Keep the reflection value the same for the same material type.
- Keep the initial attenuation value unless you have a better estimate.
-
Repeat for All Relevant Materials
- Customize presets for all material types you plan to use in your RF model, especially non-standard walls.
-
Measure Attenuation On-Site
-
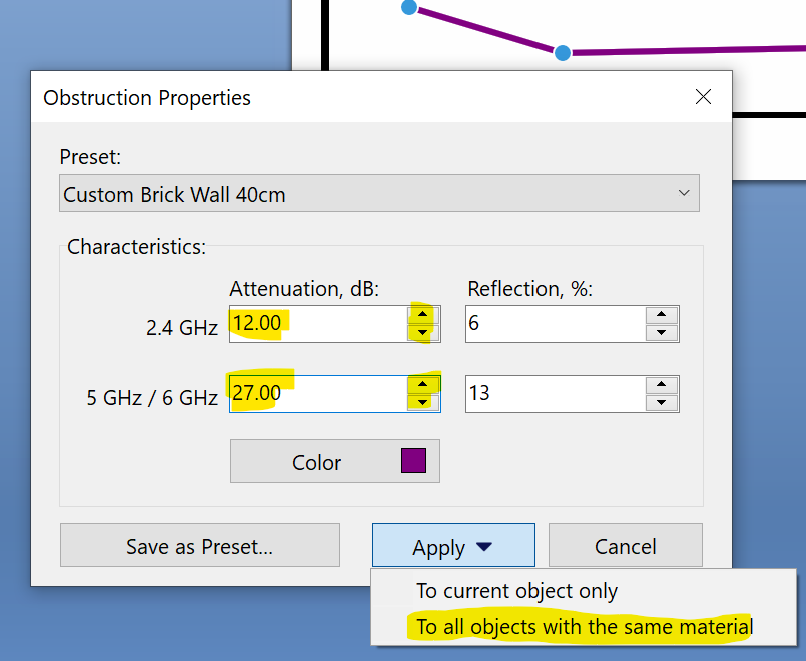
Adjust Attenuation Based on Measurements
- Click on a wall to open its Properties.
- Update the Attenuation value based on your measurement results.
- Apply the change to all objects of the same type, ensuring consistency. (This is why we create custom presets first.)
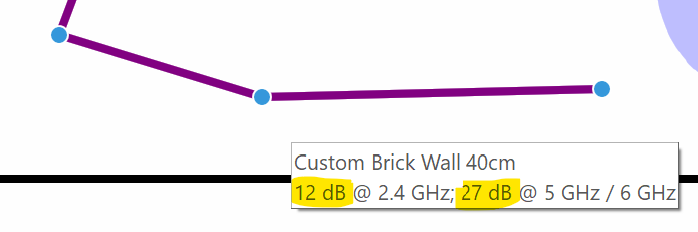
Once updated, all walls using the same preset will automatically reflect the new attenuation values: